In micro medical device manufacturing, “quality control” isn’t a final checkpoint.
It’s what keeps a run from quietly drifting out of spec while you’re still producing parts that look fine.
At the micro scale, there’s no buffer. A tiny shift in diameter, ovality jumping, or wall thickness drifting after cooling, can turn into a batch you can’t release. And by the time you catch, you are asking, “When did the process move?”
This guide breaks QC down into a practical set of processes you can run during production so you’re not relying on end inspection to tell you what already went wrong.
You’ll learn how to define what “in control” actually looks like for micro manufacturing, how to set checks that catch drift early, and how to respond fast enough to protect yield.
Key Takeaways
Micro medical QC can’t be “final inspection + hope.” It has to run during production.
Start by picking a small set of CTQs that actually drive yield (not a long wish list).
Turn CTQs into a simple control plan: what to check, how often, what counts as drift, and what to do next.
For micro tubing, focus on OD/ID, wall, ovality, lumen balance, and the process variables that move them mid-run.
If drift keeps coming back, the fix is usually process stability, not more inspections.
What “quality control processes” means in micro medical device manufacturing
When people say “QC processes” for micro medical manufacturing, they usually mean the set of repeatable checks and controls that keep parts within spec during the run—plus the records that prove those checks happened.
In other words, QC isn’t just inspection. It’s the full loop of prevent → detect → decide → react.
Here’s what that looks like on a real production line:
Prevent: Set the process up so it’s stable from the start (right materials, right setup, right baseline conditions).
Detect: Measure the CTQs that can drift quickly at the micro scale.
Decide: Apply a clear acceptance rule (pass/hold/rework/scrap) instead of “it seems fine.”
React: Have a defined “if X happens, do Y” response so drift doesn’t quietly become a whole batch.
Micro manufacturing makes this more unforgiving. When tolerances are tight, small variations become scrap faster. Drift shows up sooner. Measurement itself can become the weak link if the method isn’t consistent. And because the parts are small, you often don’t get obvious visual cues that something is moving until it’s already too late.
A practical way to keep QC simple is to organize it into the four QC moments that matter:
Incoming checks: confirm what you’re about to run (material/lot, any critical incoming requirements).
Set up / first-off checks: prove the line is producing in-spec output before you commit to volume.
In-process checks: monitor the CTQs that can move mid-run and act on drift early.
Final release checks: confirm the lot meets release criteria and the documentation supports the decision.
One line to avoid confusion: QA builds the system; QC runs the checks and makes the accept/reject calls.
Now that QC is scoped, the next step is choosing the few micro CTQs that actually control yield; otherwise, your QC plan becomes busywork.
Pick the CTQs that control yield
If QC is getting treated like paperwork, it’s usually because the team is tracking too many things and not enough of the right things.
At the micro scale, a good CTQ list is short. It focuses on the few characteristics that, when they move, create scrap fast.
Here are CTQ categories that show up again and again in real micro lines (including micro tubing work):
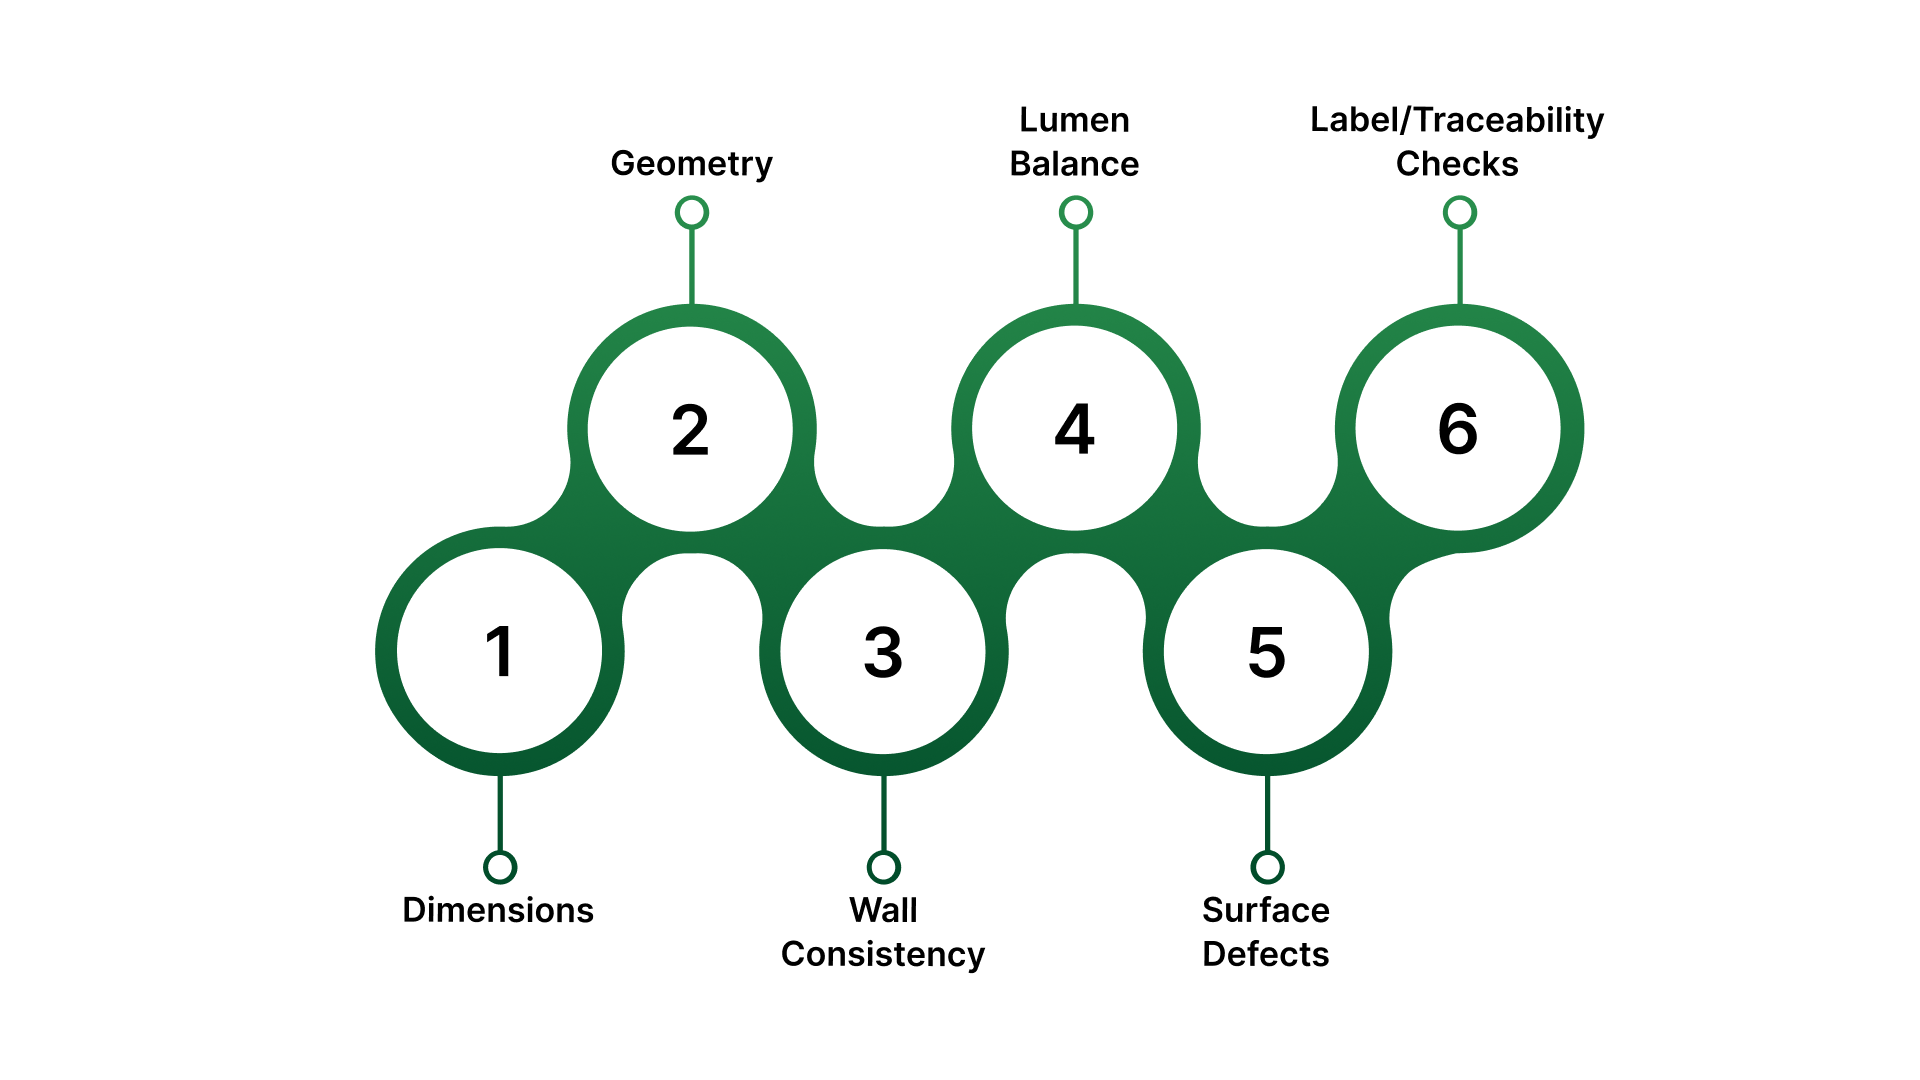
Dimensions: OD/ID, critical lengths, feature sizes (anything the spec cares about)
Geometry: ovality / out-of-round, concentricity, straightness (where “shape” matters as much as size)
Wall consistency: wall thickness variation, thin-wall risk zones
Lumen balance (if multi-lumen): lumen shape/balance, channel-to-channel consistency
Surface defects: pits, tears, inclusions, micro marks that trigger rejects or downstream failures
Label/traceability checks: correct lot, correct labeling, correct linkage to run data (easy to overlook, painful when missed)
To make a CTQ controllable, don’t stop at the spec. Define it so an operator can act on it. A practical CTQ definition looks like this:
Spec → Method → Frequency → Acceptance rule → Reaction step
Not “OD must be X.” Instead:
“OD must be X ± Y, measured by [method], checked [when], accept if [rule], and if it fails, we [do this].”
One micro reality that saves a lot of pain: if your readings aren’t consistent, don’t tighten the tolerance first. Tighten the method first. If the measurement is noisy, your QC process becomes a false-alarm machine.
Mini CTQ register example
OD: spec ___; measured by ___; acceptance ___; action if drift starts ___
Ovality: spec ___; measured by ___; acceptance ___; action ___
Wall thickness: spec ___; measured by ___; acceptance ___; action ___
ID (or lumen balance): spec ___; measured by ___; acceptance ___; action ___
Surface defect check: method ___; acceptance ___; action ___
Label/traceability: check ___; acceptance ___; action ___
This is enough to run a strong QC program without drowning the floor in checks that don’t change outcomes.
Once CTQs are chosen, you need a control plan that tells the team what to check, how often, and what to do the moment drift starts.
The control plan that works at micro scale
After CTQ list the part that actually protects yield is the control plan, the process your team can run during production to spot movement before it spreads, act fast, and document decisions cleanly.
At micro scale, a good control plan does three things well:
It keeps checks simple enough to run on the floor
It defines what “drift” looks like before you hit scrap
It tells people exactly what to do next
The control plan backbone
For each CTQ, build one clear line using this structure:
CTQ → check method → check frequency → limits → trigger → reaction → record
If any piece is missing, QC turns into late catches, inconsistent decisions, or “we adjusted it but didn’t confirm it worked.”
How to set check frequency
Don’t pick frequency based on habit. Pick it based on how fast the process can move.
Drift speed: if the CTQ can shift quickly mid-run, checks must be close enough to catch movement early (or you need in-process monitoring).
Risk: CTQs tied to release criteria or critical performance need tighter control.
Line speed/output rate: faster production means drift turns into scrap faster, so your check window needs to shrink.
A practical rule: if a CTQ is known to move during the run, it belongs in in-process control—not in “final inspection will catch it.”
Triggers that signal action early
Use triggers people can recognize and act on:

Trend drift: readings steadily moving in one direction, even if still in spec
Step change: a sudden jump compared to the last stable check
Oscillation: values swinging back and forth (often stability-related, not random)
Repeat fails: the same CTQ fails twice in a row, or fails again soon after an adjustment
The point of triggers is to force action before the run becomes unrecoverable.
What happens the moment a trigger hits
Keep the response consistent so results don’t depend on who is on shift:
Pause or slow if needed to stop the issue from multiplying
Adjust the relevant control lever tied to that CTQ
Verify with a quick confirmation check (don’t assume the adjustment worked)
Segregate the product made during the drift window if there’s any doubt
Resume only after readings return to stable behavior and the decision is recorded
One rule that saves time and prevents bad adjustments: don’t guess, verify. If a reading looks off, confirm it before changing settings.
Where SPC fits
SPC helps when it’s used as an early-warning system. On the floor, it should answer two questions:
Is this normal variation, or is the process moving?
If it’s moving, what action do we take?
If your chart doesn’t trigger a clear reaction step, it’s not helping the line.
After you build this control plan, you should always know three things: what you’re watching, what counts as drift, and what you do next. Next, we’ll apply this to micro medical tubing extrusion, where diameter, ovality, and wall consistency usually decide the entire run.
Micro medical tubing extrusion QC playbook
You already have the control plan structure and the reaction checklist. What changes in tubing extrusion is the triage order, what to verify first, so you don’t waste time (or isolate more product than needed).
One rule before you touch settings: if the result is surprising, take a quick second read and mark the last “good” time point.
Triage by symptom: what to check first
Symptom you see | First check | Second check | Third check | Containment rule |
|---|---|---|---|---|
OD/ID is shifting | What changed recently (speed event, restart, changeover) | Is it a steady trend across consecutive reads or a one-off? | Make one controlled adjustment, then verify quickly | If you can’t confirm stability fast, isolate the output since the last “good” point |
Ovality spikes or starts swinging | Confirm with a second read (rule out handling/measurement issues) | Is it a swing pattern or a single event? | Stabilize the condition, driving shape consistency, and re-check | If it repeats, treat it as stability-related and isolate the affected window |
Wall thickness starts moving | Confirm direction and trend across consecutive checks | Is the drift accelerating? If yes, slow/pause to regain stability | Adjust once, verify fast, define the drift window | If stability is uncertain, isolate the drift window output |
Multi-lumen balance shifts | Identify which lumen moved and confirm it repeats | Compare channel-to-channel (don’t average it out) | Correct the channel shift and re-verify the balance | If the balance doesn’t return quickly, stop and troubleshoot; isolate the affected window |
Collapse/deformation during cooling | Stop and segregate the affected output immediately | Confirm the likely cause before restarting | Restart with a short trial window and verify stability | Don’t resume full production until the short trial stays stable |
If the same symptom keeps coming back, look for the last change event on the line restart, speed shift, changeover, or a stability swing right before the numbers moved.
What usually moves tubing CTQs mid-run
Line speed changes (planned or unplanned)
Material behavior shift through the run (lot variation, melt behavior drift)
Cooling/sizing stability changes (anything that affects how the tube sets)
Internal air support stability changes (pressure consistency during free extrusion and cooling)
Minimum tubing run log
Time-stamped CTQ readings (OD/ID, ovality, wall, lumen balance where relevant)
Last known “good” time point before the shift
Process event timestamps (speed changes, restarts, changeovers)
Action taken + verification result
Start/end timestamps for any isolated output window
Next, let’s make sure the numbers you’re reacting to are trustworthy, so you don’t adjust a stable run because of measurement noise.
Measurement for micro QC
Micro QC is only as good as the measurement behind it. If the readings aren’t consistent, you end up making two costly mistakes: adjusting a stable process or scrapping a good product because the check itself was noisy.
The goal here is simple: make measurement reliable enough that your decisions during the run stay consistent, shift to shift.
In-process vs offline checks: what each is good for
In-process checks are there to protect yield. They’re for CTQs that can move mid-run and create scrap fast. You’re not looking for a perfect lab-grade number; you’re looking for an early signal that the process is shifting so you can act in time.
Offline checks are there for confidence and clarity. They’re what you use when you need better control over setup, environment, and fixturing, especially when you’re confirming borderline results, investigating recurring drift, or making final release decisions.
Most micro lines need both when the CTQ can shift quickly in production, but the most trustworthy measurement setup is offline. In that case, in-process tells you when to worry, and offline tells you what’s true.
Why micro measurements create false rejects
At micro tolerances, small external factors can appear as “process drift” when they’re actually measurement variation. The usual culprits are:
vibration from equipment or handling
temperature swings
inconsistent fixturing or part seating
operator-to-operator variation
sensor/tool drift over time
If you’re seeing “fail → pass → fail” on the same CTQ without a clear process change, treat the measurement as suspect until you rule it out.
A fast repeatability sanity check
You don’t need a full study to spot a measurement problem. Use a quick check you can do on the floor:
Measure the same sample multiple times using the same setup
remove and re-seat (or re-handle) the part, then measure again
Ask one question: Do we get the same result within a tight band?
If the reading fluctuates significantly just from reseating or rechecking, tightening tolerances or reacting to single readings will create false alarms.
The one rule that prevents bad adjustments
When a number looks off, the right sequence is:
Confirm → then adjust.
That means: take a second read before you touch settings, and after you adjust, re-check quickly to confirm the change actually stabilized the CTQ. This keeps “one noisy check” from turning into a real stability problem.
Thresholds that stop you from chasing noise
Micro QC needs acceptance logic that accounts for measurement variation. Borderline readings shouldn’t trigger panic; they should trigger confirmation.
If the same CTQ stays borderline repeatedly, the fix often starts with tightening the measurement method (fixturing, handling, timing) before you touch the process or shrink the tolerance window.
Once measurement is stable, the next step is handling failures cleanly, containing the risk, making a clear disposition, and keeping records defensible without slowing the line down.
When QC flags a failure: contain, decide, learn
When something goes out of spec, the goal isn’t to write a perfect report. It’s to do three things fast: contain the risk, make a clear decision, and make the next run easier. If you handle failures the same way every time, you avoid panic stops, mixed lots, and “we can’t prove what happened” later.
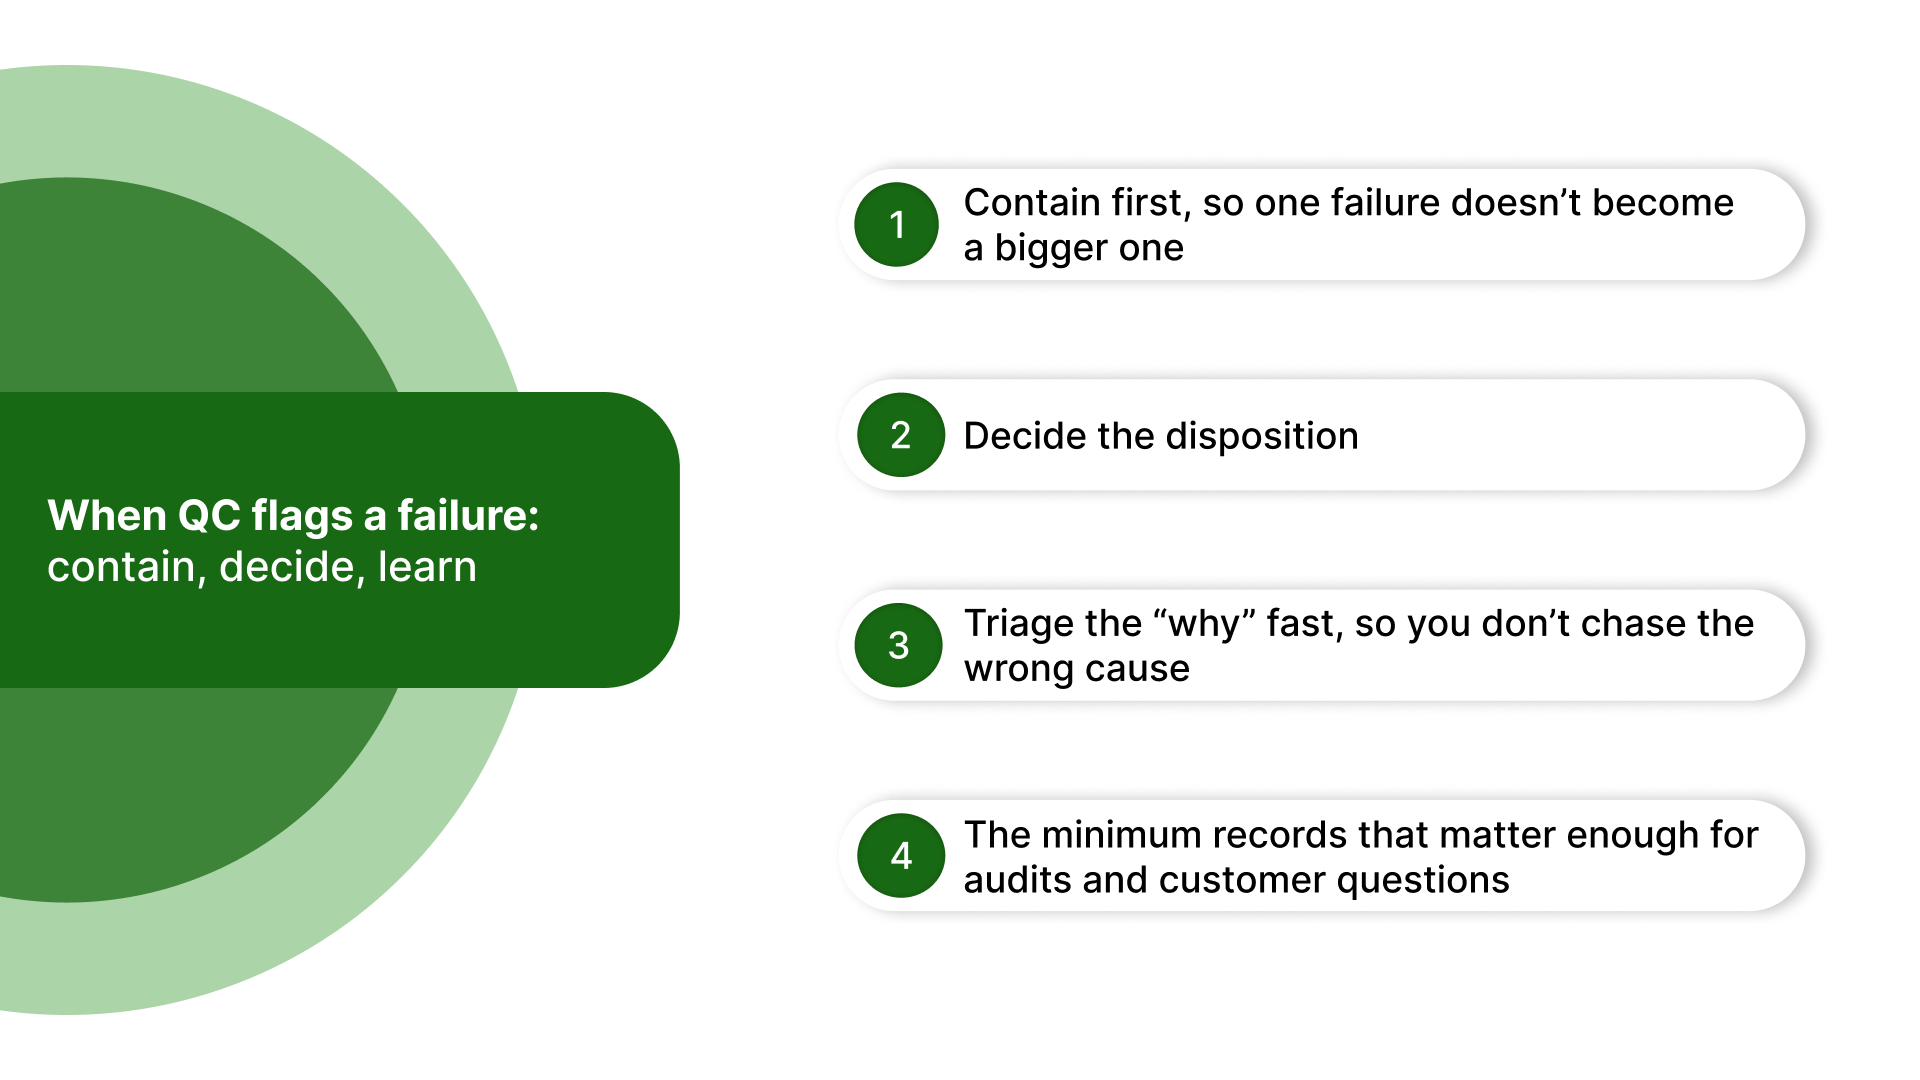
1) Contain first, so one failure doesn’t become a bigger one
Start with actions that protect the lot and keep the line under control.
Segregate and label the suspect output immediately (define the time window, not just “a few pieces”)
Pause or slow if the issue is actively spreading (fast drift, repeated fails, deformation events)
Verify the measurement before changing the process (quick second read, confirm setup/fixturing)
Capture the moment: time, CTQ value, what was running, and what changed recently
This creates a clean boundary between “known good” and “needs review.”
2) Decide the disposition
Most teams lose time because disposition turns into a discussion. Keep it rule-based:
Pass: only if you can verify it’s in spec and the measurement is trustworthy
Hold: if it’s borderline, inconsistent, or you need a confirmatory check before release
Rework: if there’s a defined, validated path to bring the product back to spec
Scrap: if the CTQ failure affects critical performance or there’s no reliable rework route
Escalate when:
The same CTQ fails repeatedly after adjustments
You can’t define the affected time window
The failure is tied to release-critical performance or customer-facing requirements
Measurement results aren’t repeatable enough to make a confident call
3) Triage the “why” fast, so you don’t chase the wrong cause
You don’t need a full investigation at the moment. You need a short list that points you to the most likely bucket:
Recent process change: speed event, restart, setpoint change, operator changeover
Measurement issue: fixturing, handling, vibration, temperature, inconsistent repeats
Material lot behavior: changeover, variation in melt/viscosity behavior, conditioning differences
Equipment instability: oscillation patterns, control instability, intermittent hardware behavior
The purpose of triage is to avoid knee-jerk reactions and to decide whether you can safely resume or need a deeper check.
4) The minimum records that matter enough for audits and customer questions
You don’t need piles of paperwork. You need a defensible trail that connects the part to the decision.
Keep these consistently:
In-process / inspection log for the CTQ (time-stamped readings and checks)
Measurement verification note when the result was questionable (second read, setup confirmation)
Nonconformance note + disposition (what failed, what you did, who approved, what was isolated)
Traceability link (material lot, run ID, timestamps, and the isolated window)
Calibration/verification status for the measurement tool used (only what’s relevant to the event)
If you can answer “what failed, when it started, what we did, what product was affected, and why we released/held it,” you’re covered for most audits and customer follow-ups.
If most of your failures are still drift, ovality swings, or collapse events even after tightening checks and measurement habits, you’re probably hitting a process-stability limit, and that’s where control upgrades start to matter.
Late-stage fix when micro tubing QC keeps failing: stabilize the process variable that’s drifting
If you’re near the limit, scrap is rising, ovality keeps returning, or multi-lumen runs are unstable, your bottleneck is usually process stability, not inspection frequency.
At that point, the best “QC improvement” often isn’t another check. It’s tightening the process variable that keeps moving.
For micro tubing, one of the most common stability levers is internal air support during free extrusion and cooling. When that support isn’t consistent, you can see it show up as OD movement, ovality swings, wall variation, or collapse events—especially as conditions change through the run.
Where a stability upgrade fits
Stabilizing ultra-low internal air support helps keep OD, ovality, and wall more consistent during the most sensitive phase of the run: free extrusion and cooling.
A quick decision checklist
If internal air support is part of your stability problem, here’s what to evaluate so you don’t overbuy or choose the wrong control style:
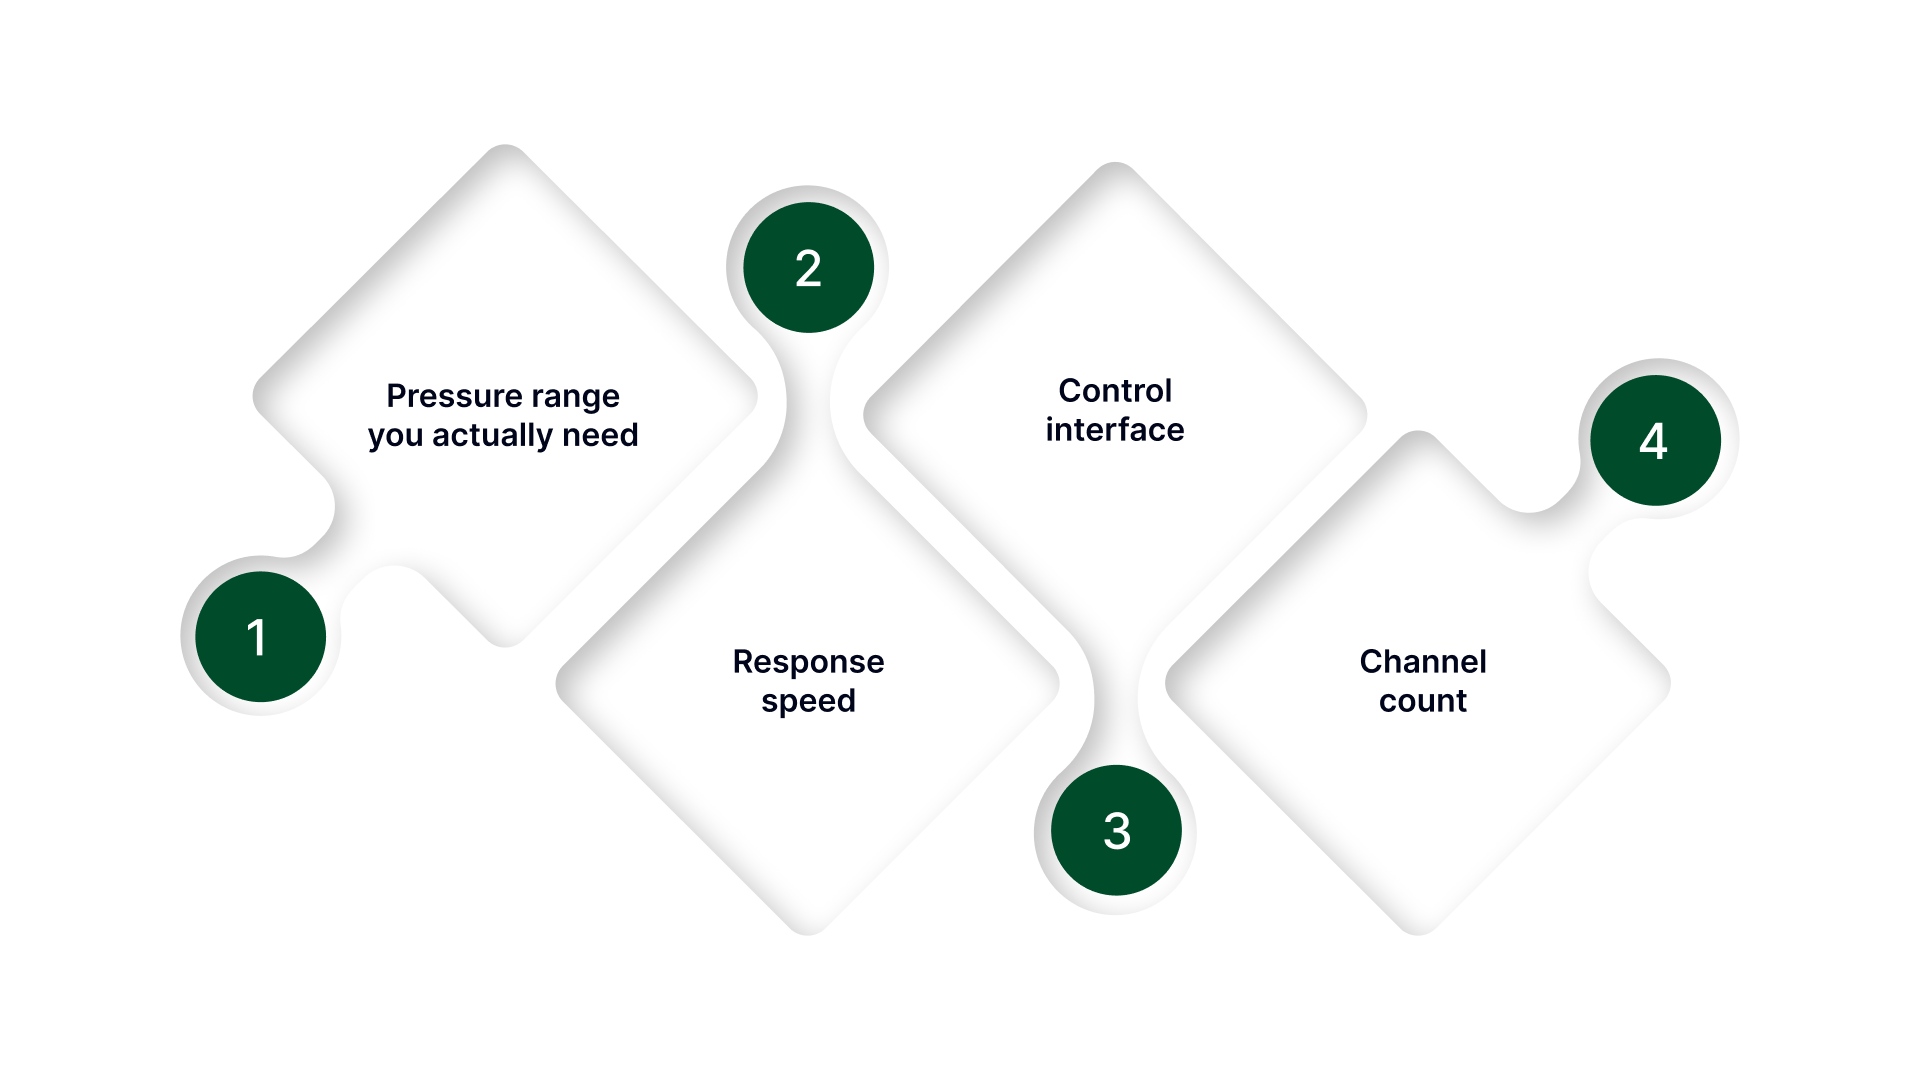
Pressure range you actually need: Micro tubing often lives at extremely low pressures; confirm your working window and how tight it needs to hold.
Response speed: if drift shows up quickly (or you run “bump/taper” profiles), you need control that can respond without lag.
Control interface: Do you need manual control, simple on/off/contact control, or a signal-driven input (like 0–10V) tied into your process?
Channel count: single-lumen vs multi-lumen is a different world. Confirm whether you need multi-channel stability to keep lumens balanced.
What this looks like in practice
If you’ve already tightened measurement and built a solid control plan, but the same drift patterns keep coming back, this is where teams often move from “monitoring the problem” to “controlling the variable.”
That’s the lane On Line Controls is built for: ultra-low air pressure regulation and control used to support tubing ID during free extrusion, including multi-channel configurations for multi-lumen work.
If you want to sanity-check whether internal air support is the stability bottleneck on your line, share:
tubing size and target specs (OD/ID/wall)
single vs multi-lumen (and lumen count)
Your current control approach (manual vs signal-driven)
the failure pattern you keep seeing (drift, ovality swings, collapse, etc.)
…and we can recommend a configuration direction that fits how your process actually runs.
Conclusion
Micro medical QC works best when it’s treated as a live process, not a final checkpoint.
If you take one thing from this guide, let it be this: pick the CTQs that actually drive scrap, turn them into a simple control plan with clear triggers and reactions, and make sure the measurement is repeatable enough to trust. That’s how you flag change fast enough to protect yield, contain failures cleanly, and keep production decisions consistent across shifts.
And when the same drift patterns keep coming back, even with better checks, that’s usually your signal to stop adding inspections and start stabilizing the process variable that’s moving.
FAQs
What are the main quality control processes in medical device manufacturing?
Incoming checks, first-off/setup verification, in-process monitoring with defined reaction steps, and final release checks. The win is when each CTQ has a clear “how we check it” and “what we do if it moves.”
What is a control plan in medical device manufacturing?
A control plan is the run-time playbook: CTQ, how it’s measured, how often, limits, what counts as drift, and the exact response steps. It keeps decisions consistent across shifts.
What does CTQ mean in medical device manufacturing?
CTQ stands for “critical to quality,” the few characteristics that decide whether a part can be released. In micro work, CTQs are usually the ones that drift fast and create scrap quickly.
How is quality control different for micro medical devices?
Micro manufacturing is less forgiving: drift shows up faster, measurement limits matter more, and visual inspection is less useful. QC needs quicker verification habits and stronger in-process control so you don’t find problems at final inspection.
How do you reduce ovality in micro medical tubing?
Treat ovality as an in-process CTQ, watch for oscillation/step changes, confirm readings with a quick second check, then stabilize the variable that’s driving out-of-round behavior during cooling—don’t rely on end inspection to catch it.